
We did it! Building on the blender bread craze, we created the holy grail of breads: easy no-knead gluten-free vegan white bread! How easy is it? You throw all of the ingredients in a blender (hence the term “blender bread”), blend it, then pour the batter into your loaf pans! That’s how easy it is! And you get honest-to-goodness gluten-free white bread!
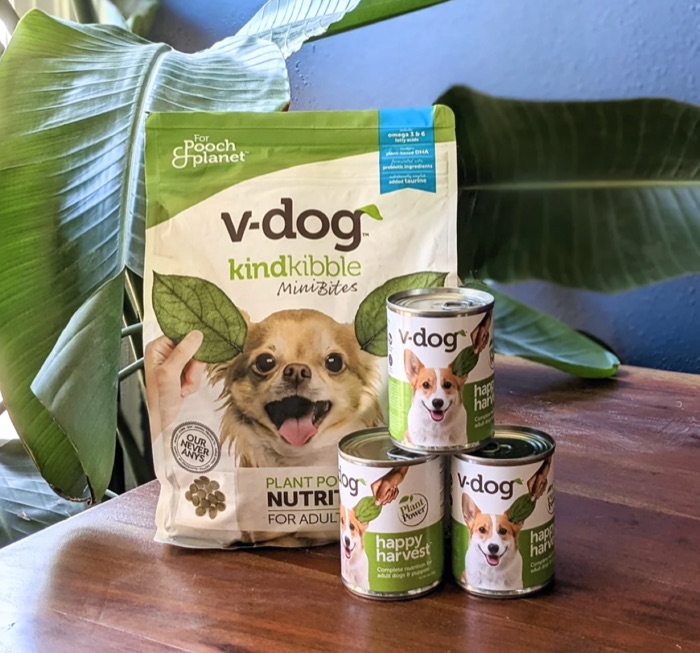
🐶 HEY! WE GOT YOU 10% OFF ALL V-DOG VEGAN DOG FOOD AND TREATS!🐾
NO EMAIL ADDRESS NEEDED!
Just use our special coupon code HAPPYGFVEGAN at the V-Dog website!
Not only that, but just like all other great white breads, it has very simple ingredients: white rice, water, oil, salt, sugar, and yeast. That’s it! Never worked with yeast before? This is the perfect recipe for your first yeast bread because it’s easy, nearly foolproof, and all you have to do is open the envelope of yeast and dump it in. There is no kneading!
How can this be?? The magic is in the rice, and the blender. You’ll see! It’s super easy!
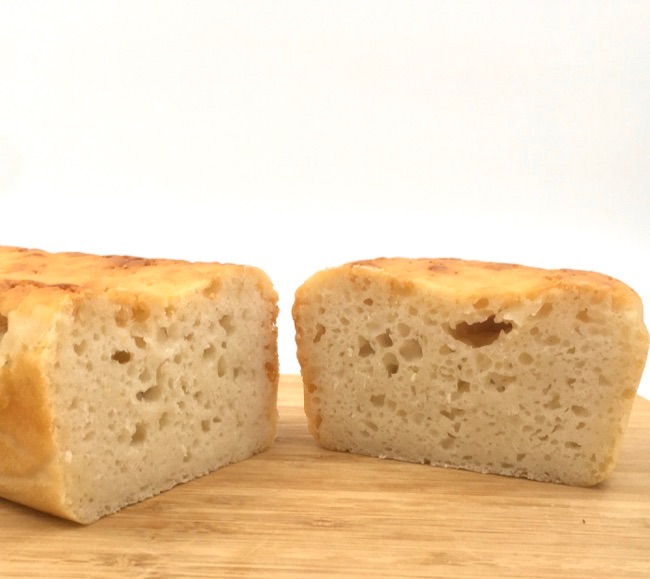
What you end up with is a nice white bread with a decent crumb! It slices well, and it even toasts up beautifully!
Thank you! ❤️
*Receipts will come from ISIPP.
CashApp us

Venmo us

Paypal us

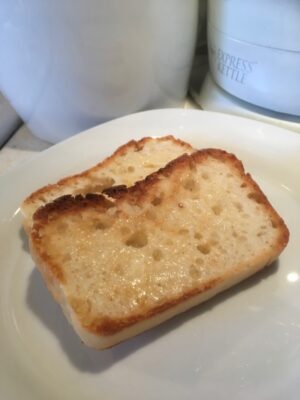
Look How Beautifully this Gluten-Free Vegan White Bread Toasts!
Magic Vegan Gluten-Free White Bread Recipe Made in a Blender
Ingredients
2 cups dry (uncooked) short grain white rice (it is sometimes trendily called “sushi rice”)
1 cup water
3 Tablespoons light oil such as sunflower oil
2 Tablespoons sugar (to feed the yeast)
1 tsp regular salt
1 envelope quick yeast (not regular yeast) – one envelope contains 2 1/4 teaspoons of yeast
Directions
Cover the 2 cups of rice with plenty of water (the rice will expand and you want it to remain covered with water) and soak for 4 hours. Do NOT soak for longer (it will develop too much starch).
Grease a standard 4.5 by 8.5 loaf pan, as well as a mini loaf pan or a couple of muffin tins, and set aside.
Drain the rice and put in the blender. Add everything else except the yeast and process for at least three minutes (or longer) until very smooth.
This will cause the mixture to get warm. Allow the mixture to cool until mildly warm, when you stick your finger in it it should feel warm but not hot. If you have a kitchen thermometer you want to aim for between 120° and 130° Fahrenheit. (According to yeast company Fleischmanns, 120°–130° Fahrenheit is the ideal temperature for quick (also known as RapidRise) yeast. Regular yeast needs a lower temperature, between 100° and 110°, so if you’re used to working with regular yeast the 120° to 130° that quick yeast needs may seem a tad warm to you, but it’s correct.)
When the batter is at the right temperature dump the yeast into the blender and blend it on low speed just long enough so that the yeast is thoroughly mixed in.
Pour the batter into the main loaf pan until it is 2/3s full (no more, no less). Pour any remaining batter into your mini loaf pan or muffin tins (also 2/3s full).
Set aside in a warm place for about 30 minutes, during which time the batter will rise.
While the batter (dough) is rising preheat your oven to 360°. If you can put a pan of water on the lower shelf of your oven that is a good thing to do.
When the 30 minutes is up spritz the top of the dough very lightly with water, put in the oven on a rack above the water (not on the same shelf as the water), and bake for 45 minutes or until done.
Remove from the oven, tip it out of the pan, and let it cool on a rack. But first, if you are like us and think that warm bread fresh out of the oven slathered with (vegan) butter is the closest thing to heaven in your mouth, go ahead and indulge, because you can totally do that with this bread!
After the bread is completely cooled we store it by wrapping it in waxed paper, and putting it in a brown paper bag left on our counter.


The Happy Gluten-Free Vegan is always free, always reader-supported. Your tips via CashApp, Venmo, or Paypal are appreciated. Receipts will come from ISIPP.
CashApp us
Venmo us
Paypal us
 Our recipe book contains 50 of our favorite recipes, all vegan, all gluten-free, instantly downloadable!
Made this loaf yesterday and it was a winner! Everyone in the family loved it. Cut some thick slices and made garlic bread for my celiac daughter, and my husband and I dipped some in olive oil. All the batter fit in my metal loaf pan, filling it 2/3 full, and the outside crisped up very nicely. Next time I will leave it in the oven another five or ten minutes as the inside was a bit underbaked, but it was still enjoyable. The simplicity of this recipe is amazing and I can tell our blender is going to be put to good use, at least while it’s warm enough for the bread to rise well before baking. Thanks for the detailed instructions!
Hi Melanie! We’re so glad that it was such a hit in your home, and making garlic bread with it is a brilliant idea! Did you just slice it, slather it, and heat it in the oven? 👩🏻🍳
I’m a little confused on the rice. Any short grain rice, white or brown? When I look at items called sushi rice, they don’t specify long or short grain, so will anything called sushi rice work as well? Thanks!
Hi Karen! Yes, short grain *white* rice; if it’s white and called “sushi” rice, that will work. :~)
This works! It looks like white bread and has a similar texture. It works for toast, sandwiches, peanut butter, etc. Very fun. It doesn’t have much flavor by itself. I think I’ll experiment with adding seasonings.
We’re so glad that you liked it!! Let us know what variations you try! ❤️👩🏻🍳