We recently scored a brand-new waffle maker at a second-hand store, and were so excited that we decided to make waffles for dinner! Normally, we have them for breakfast, but we just couldn’t wait.
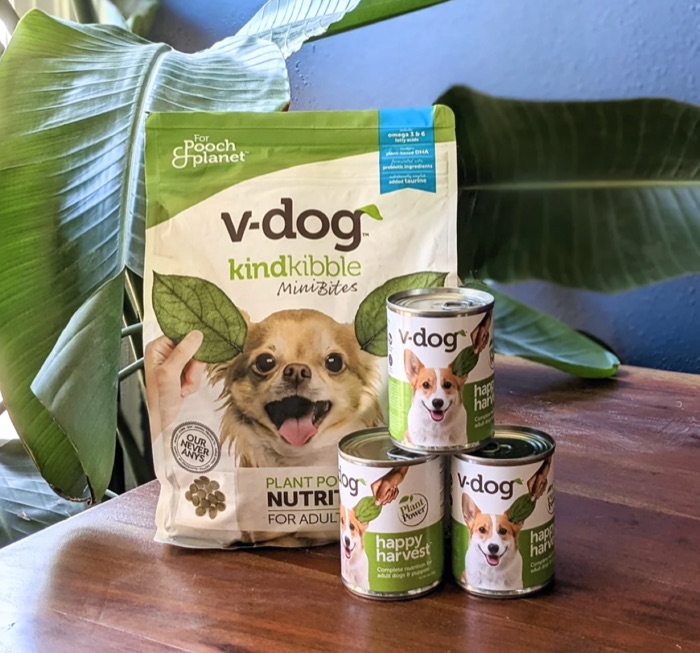
🐶 HEY! WE GOT YOU 10% OFF ALL V-DOG VEGAN DOG FOOD AND TREATS!🐾
NO EMAIL ADDRESS NEEDED!
Just use our special coupon code HAPPYGFVEGAN at the V-Dog website!
These vegan, gluten-free pumpkin waffles are especially good for the autumnal season, when you just might have some extra pumpkin puree lying around. If not, you won’t have any trouble finding cans of it in the front row of your local supermarket.
If you don’t have a waffle maker, or if you’re more of a pancake person, we imagine that our recipe will work just fine for pancakes.
INGREDIENTS
Thank you! ❤️
*Receipts will come from ISIPP.
1 1/2 cups plant milk (we used almond, with stellar results)
1/4 cup melted coconut oil
2 teaspoons pure vanilla extract
1 tablespoon maple syrup
1/2 cup pumpkin puree (either fresh or canned)
2 cups all-purpose gluten-free flour (Bob’s Red Mill is still our go-to brand)
2 tablespoons ground flaxseed (just grind it in your blender for a few seconds — this works great!)
1 tablespoon baking powder
1/2 teaspoon baking soda
pinch of cinnamon powder
pinch of ginger powder
punch of nutmeg
OPTIONAL TOPPINGS
vegan butter or margarine
vegan cream cheese
maple syrup
chopped walnuts or pecans
INSTRUCTIONS
Heat your waffle maker on a medium setting for at least a couple of minutes.
In a large mixing bowl, stir all of the dry ingredients together until they are thoroughly blended. Slowly add the wet ingredients, and stir them vigorously to remove any lumps. Your batter’s consistency should be smooth but not runny. If it’s too thin, add more flour. If too thick, add more plant milk. You’ll know when it looks right.
Using a ladle or pouring from a measuring cup, add the correct amount of batter for your particular waffle iron (if you have lost the directions, the general rule of thumb is 1/3 cup batter for a 4″ waffle, 1/2 cup for a 7″ waffle, and 1 cup for a 9″ waffle). Do not overfill, or the batter will run over the sides. It will swell a bit while cooking.
Pro tip: Before you pour in your batter, spritz the top and bottom of the waffle maker’s interior with a bit of cooking spray. We used coconut oil and were most happy with the resulting flavor, as well as the ease of waffle removal. Without oil, your waffle might stick, and you’ll have to use a butter knife to remove it.
You might want to take a peek at your waffle occasionally to make sure it doesn’t burn. Cooking shouldn’t take more than a minute or two.
Scoop your waffle onto a plate and serve with vegan butter or margarine, vegan cream cheese, chopped walnuts or pecans, and/or additional maple syrup. It shouldn’t take you long to devour it! You’ll have enough batter for at least four waffles, so just cover any extra batter in a secure container and store it in your refrigerator for tomorrow’s breakfast. Yum! You’ll never eat frozen waffles again.

The Happy Gluten-Free Vegan is always free, always reader-supported. Your tips via CashApp, Venmo, or Paypal are appreciated. Receipts will come from ISIPP.


 Our recipe book contains 50 of our favorite recipes, all vegan, all gluten-free, instantly downloadable!